Tumne blog banaya, posts likhe, aur ab ek hi sawaal hai — Google AdSense approve kab hoga? Yeh sawaal India ke lakho bloggers ke mann mein hota hai. Lekin sach yeh hai ki Google AdSense approval guide India mein zyada log reject isliye hote hain kyunki unhe exact process pata nahi hoti. Koi shortcut nahi hai — lekin ek clear roadmap zarur hai. Is guide mein tumhe milega har step, har requirement, har common mistake, aur uska fix. Shuru se end tak — bilkul complete.
Google AdSense Kya Hai — Aur India Mein Kyun Sabse Best Option Hai?
Google AdSense duniya ka sabse bada display advertising program hai. Jab tum apni website pe AdSense ads lagaate ho, Google tumhari content ke hisaab se relevant ads dikhata hai. Jab visitor us ad ko dekhta hai ya click karta hai — tumhe paise milte hain. Yeh process automatic hai. Tumhe koi product nahi bechna, koi client nahi dhundna.
India mein AdSense isliye popular hai kyunki yeh beginner-friendly hai, payment directly bank account mein aata hai, aur minimum payout sirf $100 (approx ₹8,300) hai. CPC (Cost Per Click) India mein average ₹2–₹20 hota hai. Finance, insurance, tech, aur legal niches mein yeh ₹50–₹200 tak bhi jaata hai.
Agar tum blogging se serious income banana chahte ho, toh AdSense approval tumhara pehla bada milestone hai. Iske baad tum roz ₹1000 se zyada bhi earn kar sakte ho — sirf apni website se.
Google AdSense Approval Ke Liye Basic Eligibility — Pehle Yeh Check Karo
Apply karne se pehle yeh 5 basic eligibility points check karo. Agar koi ek bhi miss hai toh rejection confirm hai.
1. Age 18 Years Ya Usse Zyada Honi Chahiye
Google AdSense ke liye minimum age 18 years hai. Agar tum 18 se kam ho, toh kisi adult family member ke naam pe account banana hoga. Lekin dhyan rakho — bank account, PAN card, aur AdSense account sab usi adult ke naam pe hone chahiye. Mismatch hone pe payment hold ho jaata hai.
2. Website Tumhare Google Account Se Linked Honi Chahiye
AdSense account usi Gmail ID se banao jisse tumhari website manage hoti hai. Agar tum WordPress use karte ho, toh Google Search Console bhi usi ID se verified hona chahiye. Mismatch pe Google trust nahi karta.
3. Custom Domain — .com Ya .in Strongly Recommended
Technically free subdomains jaise blogspot.com pe bhi AdSense milta hai. Lekin practice mein custom domain wali sites ko approval jaldi milta hai. Domain at least 3 mahine purana hona chahiye — kuch review teams 6 mahine tak wait karte hain. Domain registration ke turant baad apply mat karo.
4. Content 100% Original Hona Chahiye
Copy-paste content, heavily AI-generated spam, ya kisi doosri site se translated content pe AdSense bilkul nahi milta. Google ke crawlers ab AI content ko detect karte hain. Agar content thin, repetitive, ya unoriginal laga — straight reject. Personal experience, original research, aur reader ke liye genuinely useful writing hi kaam aati hai.
5. Minimum Post Count — Asal Mein Kitna Chahiye?
Google ne officially koi number nahi bataya. Lekin experience se pata chala hai ki 15–25 quality posts hone chahiye apply karne se pehle. Quantity se zyada quality matter karti hai. 800–1500+ words ki in-depth posts, sirf 50 thin posts se kaafi better hain. Har post clearly ek problem solve kare.

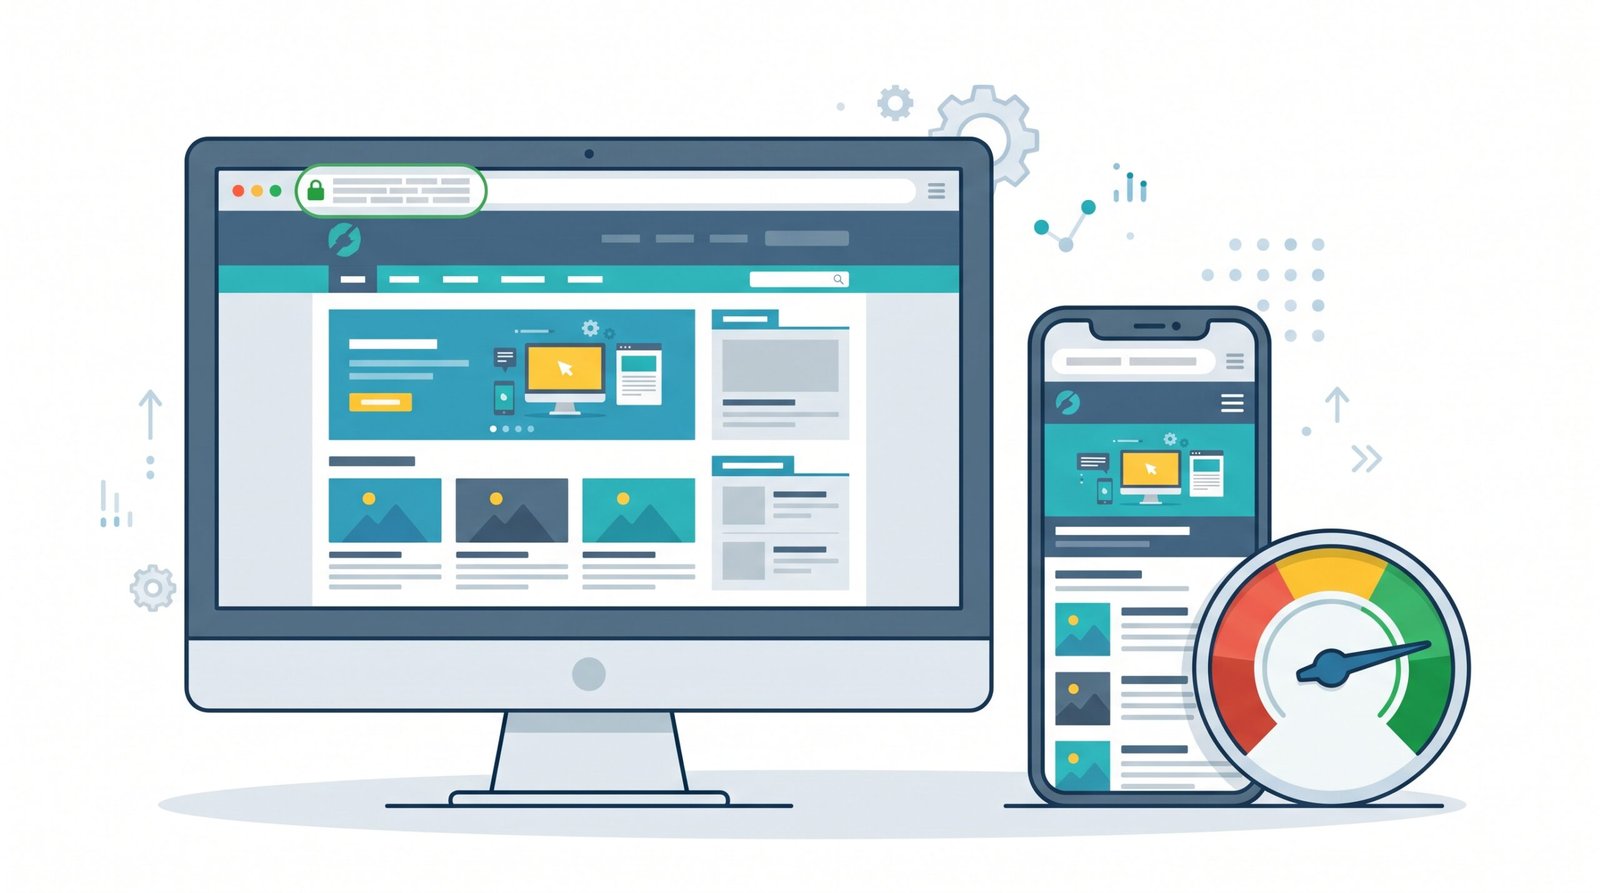
Website Ko AdSense-Ready Kaise Banayein — Complete Technical Checklist
Content ke saath-saath tumhari website ka technical setup bhi Google review karta hai. Neeche di gayi har cheez apply karne se pehle complete honi chahiye.
✅ SSL Certificate — HTTPS Mandatory Hai
Tumhari site HTTPS pe honi chahiye. HTTP pe AdSense kabhi approve nahi hota. Hostinger, Bluehost, SiteGround — sabpe free SSL milta hai. WordPress mein Really Simple SSL plugin se ek click mein HTTPS activate ho jaata hai. Activate karne ke baad ek baar poori site check karo ki koi mixed content warning toh nahi aa rahi.
✅ Mobile-Friendly Design — India Ke Liye Aur Bhi Zaroori
India mein 80%+ internet traffic mobile se aata hai. Google ka AdSense reviewer mobile pe bhi tumhari site check karta hai. Google Mobile-Friendly Test pe apna URL daalo — agar fail hua toh pehle yeh fix karo. Responsive theme use karo, popups avoid karo, aur buttons itne bade rakho ki finger se tap ho sakein.
✅ Page Speed — 3 Seconds Se Kam Load Time
Heavy site slow hoti hai, aur slow site pe AdSense approval mushkil ho jaata hai. Google PageSpeed Insights pe test karo. Images ko TinyPNG se compress karo. Caching ke liye LiteSpeed Cache ya W3 Total Cache use karo. Unnecessary plugins delete karo — har plugin site ko thoda slow karta hai.
✅ Clear Navigation — Menu Aur Categories
Tumhari site ka menu clear hona chahiye. Header mein main categories visible hon. Footer mein legal pages (Privacy Policy, About, Contact) link hon. Google ka reviewer actually tumhari site browse karta hai — agar ushe koi page nahi mila ya navigation confusing lagi toh red flag hai.
✅ Broken Links — Chhupa Hua Rejection Reason
404 errors aur broken links bahut common rejection reason hain jo log ignore karte hain. Broken Link Checker plugin install karo ya Screaming Frog se site scan karo. Jo bhi broken link mile — ya toh fix karo ya remove karo. Yeh ek baar zarur karo apply karne se pehle.
✅ Google Search Console — Sitemap Submit Karo
Google Search Console mein tumhari site verified honi chahiye aur XML sitemap submit hona chahiye. Yoast SEO plugin automatically sitemap generate karta hai. Search Console Google ko yeh confidence deta hai ki tumhari site genuine hai, crawlable hai, aur spam nahi hai. Bina Search Console ke apply karna risky hai.
✅ Google Analytics — Optional But Helpful
Google Analytics link karna mandatory nahi hai, lekin yeh ek positive signal deta hai. Analytics se pata chalta hai ki tumhari site pe real human traffic aa raha hai — bots nahi. GA4 setup karo aur kuch weeks ka traffic data hone do apply karne se pehle.

Mandatory Pages Jo Tumhari Site Pe Hone Chahiye — Bina Inke Reject Hoge
Google AdSense reviewers specifically yeh pages dhundhte hain. Agar missing hain toh approval nahi milega — chahe content kitna bhi acha ho.
1. About Page — Tumhari Identity
About page pe clearly batao ki tum kaun ho, yeh blog kyun banaya, aur readers ko kya milega. Real name ya pen name use karo, photo optional hai. Google trust uss site karta hai jisme koi real identity ho — anonymous nahi. Kam se kam 200–300 words ki genuine About page honi chahiye.
2. Contact Page — Reachability Proof
Contact page pe email address ya contact form hona chahiye. Google verify karna chahta hai ki site ke peeche ek real, reachable person hai. Gmail address bhi chalega — lekin domain email (yourname@yourblog.com) zyada professional lagta hai aur better impression deta hai.
3. Privacy Policy — Google Ka Strict Requirement
Privacy Policy page mandatory hai — AdSense ki own policies ke anusaar bhi. Yeh page batata hai ki tum visitors ka data kaise collect karte ho, kaise use karte ho, aur kaise protect karte ho. Free Privacy Policy generator available hai at privacypolicygenerator.info — wahan se generate karo aur apni site pe paste karo.
4. Disclaimer Page
Disclaimer page batata hai ki tumhari site pe jo information hai woh general purpose ke liye hai — professional advice nahi. Finance, health, ya legal topics cover karte ho toh yeh especially important hai. AdSense ke saath-saath affiliate marketing ke liye bhi yeh page hona chahiye.
5. Terms and Conditions — Optional Lekin Helpful
Terms and Conditions page strictly mandatory nahi hai AdSense ke liye, lekin iska hona site ko aur professional banata hai. Google reviewer ke liye yeh ek positive signal hai ki tumne apni site seriously set up ki hai.
Google AdSense Ke Liye Apply Kaise Karein — Step-By-Step Process
Sab kuch ready hai? Ab apply karte hain. Yeh process simple hai — lekin har step dhyan se follow karo.
Step 1 — AdSense Account Banao
adsense.google.com pe jao. Apni Gmail ID se sign in karo — wahi ID jo tumhari website se linked hai. “Get Started” pe click karo. Apni website ka URL enter karo (HTTPS ke saath). Country India select karo. AdSense terms accept karo.
Step 2 — AdSense Code Apni Site Pe Lagao
AdSense tumhe ek JavaScript code snippet dega. Ise apni WordPress site ke <head> section mein lagao. Sabse aasaan tarika: Site Kit by Google plugin install karo — yeh automatically AdSense code lagata hai. Ya phir theme ke header.php mein manually paste kar sakte ho.
Step 3 — Application Submit Karo Aur Wait Karo
Code lagane ke baad AdSense dashboard pe “Submit” karo. Ab Google ka team manually tumhari site review karega. Yeh process 2 days se 4 weeks tak le sakta hai. India mein average 1–2 weeks lagti hai. Is dauraan site pe posts publish karte raho — ruki hui site red flag deta hai.
Step 4 — Email Notification Check Karo
Approval ya rejection ki notification usi Gmail pe aayegi jisse tumne apply kiya tha. Agar approved — congratulations! Agar rejected — email mein reason bata hoga. Ghabrao mat — rejection fix karke dobara apply kar sakte ho. Most bloggers 1–2 attempts mein approve ho jaate hain.
Step 5 — Payment Information Setup Karo
Approval ke baad AdSense dashboard mein jaao. Payment information section mein apna naam (PAN card ke anusaar), address, aur bank details fill karo. Google pehle ek verification PIN bhejta hai tumhare address pe — yeh PIN enter karne ke baad payment release hoti hai. PIN aane mein 2–4 weeks lagti hai.

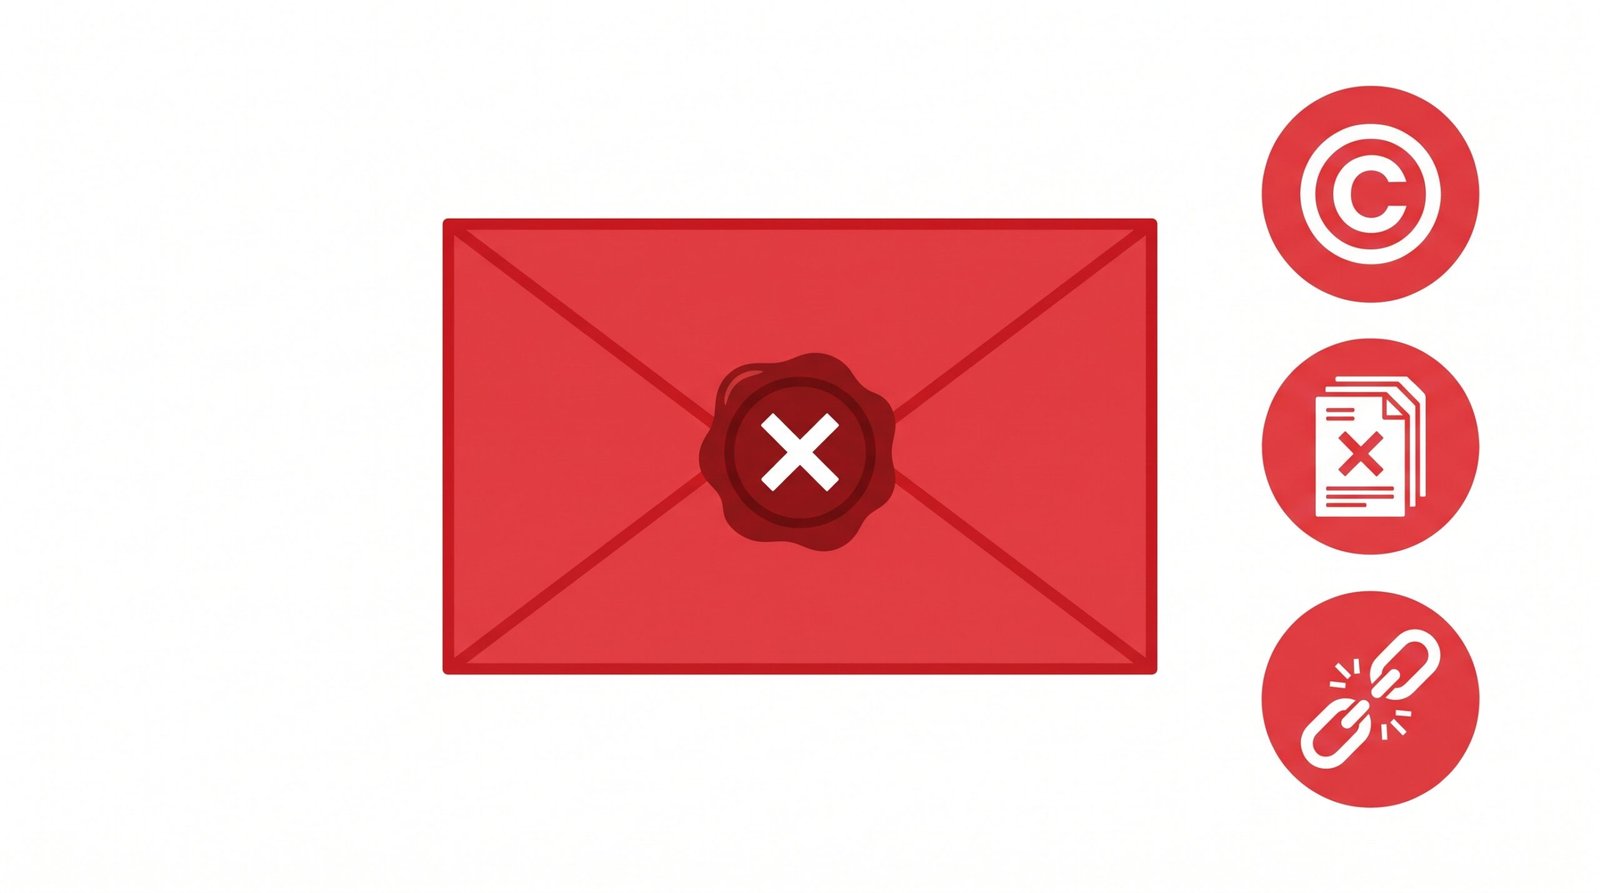
Google AdSense Rejection Ke Common Reasons — Aur Unhe Fix Kaise Karein
Reject ho gaye? Pareshaan mat ho. Yeh sabse common reasons hain — aur unhe fix karna mushkil nahi hai.
❌ Rejection Reason 1: Insufficient Content
Kya hua: Posts ki sankhya kam hai ya posts bahut chhoti hain.
Fix: Kam se kam 15–20 posts publish karo. Har post 800+ words ki ho. Content genuinely helpful aur detailed hona chahiye. Dobara apply karo 4–6 weeks baad.
❌ Rejection Reason 2: Duplicate or Copied Content
Kya hua: Tumhara content kisi doosri site se match kar raha hai — chahe tumne copy kiya ho ya AI tool se generate kiya ho bina editing ke.
Fix: Copyscape ya Duplichecker pe apni posts check karo. Jo posts highly similar hain unhe rewrite karo ya delete karo. Sirf original content rakho.
❌ Rejection Reason 3: Prohibited Content
Kya hua: Tumhara content AdSense policies ke against hai — adult content, gambling, drugs, hacking, weapons, ya hate speech.
Fix: AdSense Program Policies carefully padho. Aise koi bhi posts hain toh delete karo. Agar tumhara niche hi aise topics pe hai toh AdSense ke alternatives dekhne padenge.
❌ Rejection Reason 4: Site Under Construction Ya Low Value
Kya hua: Site nahi bani ya content itna generic hai ki reader ko koi value nahi milti.
Fix: Site completely ready karo pehle. Placeholder pages, empty categories, aur “coming soon” pages hata do. Har published post fully complete aur valuable honi chahiye.
❌ Rejection Reason 5: Missing Required Pages
Kya hua: About, Contact, ya Privacy Policy page missing hai.
Fix: Upar bataye sab mandatory pages banao. Footer mein clearly link karo. Dobara apply karne se pehle ek baar manually verify karo ki har page accessible hai.
❌ Rejection Reason 6: Traffic Mostly Bots Ya Invalid
Kya hua: Google Analytics ya Search Console mein traffic dikh raha hai lekin woh real users nahi hain — bots, self-clicks, ya paid fake traffic.
Fix: Kabhi bhi apne ads pe click mat karo. Fake traffic services use mat karo. Organic SEO se real traffic laao — iske liye time lagta hai lekin yahi safest tarika hai.
AdSense Approval Ke Baad Kya Karein — Earning Maximize Kaise Karein
Approval milne ke baad celebration karo — lekin kaam yahan se shuru hota hai. Sirf ads lagane se income nahi hoti. Earning badhaane ke liye yeh steps follow karo.
Ad Placement Optimize Karo
Best performing ad placements hain: article ke andar (in-content), sidebar mein, aur header ke neeche. Auto ads use karo initially — Google khud best placement decide karta hai. Phir 2–4 weeks ke data ke baad manual optimization karo.
High CPC Keywords Target Karo
Finance, insurance, loans, tech products, aur legal topics India mein high CPC dete hain. Apni niche mein high-value keywords research karo — Google Keyword Planner free hai. High CPC posts zyada earn karte hain same traffic pe bhi.
Organic Traffic Badhao
AdSense earnings directly traffic pe depend karti hai. SEO pe focus karo — long-tail keywords, internal linking, aur quality backlinks. Social media pe posts share karo. Email list banana shuru karo. Jitna zyada organic traffic, utni zyada earning.
AdSense Ke Saath Affiliate Marketing Combine Karo
Sirf AdSense pe depend mat raho. Affiliate marketing ke saath combine karne pe earning double ho sakti hai. Tumhare blog posts ke andar relevant products recommend karo aur affiliate links lagao. Yeh digital products bechne ka tarika bhi tumhari income layer add karta hai without extra traffic.
Google AdSense Se India Mein Kitna Kama Sakte Ho — Realistic Numbers
Yeh sabse common sawaal hai. Honest answer yeh hai ki earning niche, traffic, aur audience pe depend karti hai. Neeche ek realistic breakdown hai:
Beginner Stage — 0 to 6 Months
Monthly 1,000–5,000 page views pe earning ₹200–₹800/month hoti hai. Yeh stage learning aur content building ki hai. Income kam hoti hai lekin foundation yahan banta hai.
Growth Stage — 6 to 18 Months
Monthly 10,000–50,000 page views pe ₹2,000–₹10,000/month earn hota hai. Is stage pe affiliate marketing add karne pe earning 2x–3x ho sakti hai. Yahan se blogging ek serious side income banta hai.
Established Stage — 18 Months Se Aage
Monthly 1 lakh+ page views pe ₹20,000–₹80,000/month bhi earn ho sakta hai AdSense plus affiliates combined. High CPC niche mein yeh aur bhi zyada ho sakta hai. Is stage pe blogging full-time income ban jaata hai.
AdSense Ke Alternatives — Jab Approval Nahi Mila Ya Extra Income Chahiye
Agar AdSense approve nahi hua, ya tum earning diversify karna chahte ho, toh yeh alternatives try kar sakte ho.
Media.net
Media.net Yahoo aur Bing ka ad network hai. Approval requirements AdSense se thodi relaxed hain. English content sites ke liye best hai. CPC AdSense se thoda kam hota hai lekin approval jaldi milta hai.
Ezoic
Ezoic ek AI-powered ad platform hai jo AdSense se bhi zyada earn karwa sakta hai. Lekin minimum 10,000 monthly sessions chahiye. Agar tumhara traffic itna ho gaya hai toh Ezoic seriously consider karo.
Affiliate Marketing
Affiliate marketing ke liye koi site requirement nahi hoti — tum kal se shuru kar sakte ho. Amazon Associates, Hostinger Affiliate, aur Flipkart Affiliate sabse popular hain India mein. Saath mein freelancing bhi shuru karo — income double ho sakti hai blogging wait karne ke dauran.
Mobile Se Bhi Earning Possible Hai
Agar tumhare paas laptop nahi hai toh bhi chinta mat karo — mobile phone se bhi paise kamaye ja sakte hain aur apna blogging journey shuru kiya ja sakta hai.
Students Ke Liye Special Section — AdSense Aur Blogging Shuru Kaise Karein
Agar tum student ho aur paise kamane ka safe tarika dhundh rahe ho, toh blogging ek best long-term option hai. Koi investment nahi chahiye — sirf ek free Blogger account ya Hostinger pe cheap hosting se shuru kar sakte ho. Students ke liye 7 proven methods hain online earning ke liye — blogging unhi mein se ek hai aur sabse sustainable bhi.
Aur agar blogging ka wait nahi kar sakte aur instant earning chahiye, toh data selling apps se bhi chhota income shuru kar sakte ho is beech.
Google AdSense Approval Guide India — Frequently Asked Questions
Q1. Kitne Traffic Pe AdSense Apply Karein?
Google ne koi minimum traffic requirement officially nahi bataya. Lekin practice mein kam se kam 100–300 daily visitors hone ke baad apply karna better result deta hai. Bilkul zero traffic pe apply karna risky hai — Google ko lagta hai site genuine nahi hai.
Q2. AdSense Approve Hone Mein Kitna Time Lagta Hai India Mein?
Typically 3 days se 4 weeks tak. Average India mein 1–2 weeks hai. Approval time site ke readiness pe depend karta hai — jitni better site hogi, utna jaldi review hoga.
Q3. Reject Hone Ke Baad Kitne Dino Baad Apply Karein?
Rejection email mein jo issues bataaye gaye hain unhe fix karo — phir 30 days baad dobara apply karo. Bina fix kiye baar baar apply karna waste of time hai aur account suspend bhi ho sakta hai.
Q4. Hindi Blog Pe AdSense Milta Hai Kya?
Haan — Google AdSense Hindi language blogs ko fully support karta hai. India mein Hindi blogs pe approval aur earnings dono hoti hain. Lekin content quality, originality, aur site setup ki requirements same hi rahti hain English blogs jaisi.
Q5. Ek AdSense Account Se Kitni Sites Monetize Kar Sakte Hain?
Ek AdSense account se multiple sites monetize kar sakte ho. Naye sites ko AdSense dashboard mein “Add Site” karke add karo. Har naye site ke liye ek baar review hota hai — lekin alag account banana zaroori nahi.
Q6. AdSense Payment Kab Aata Hai?
Har mahine ke 21–26 tarikh ke beech payment process hoti hai jab tumhara balance $100 (approx ₹8,300) ya usse zyada hota hai. Payment directly tumhare bank account mein aata hai — usually 3–5 working days mein credit ho jaata hai India mein.
Q7. Kya Mobile Se Blogging Karke AdSense Approval Mil Sakta Hai?
Haan — technically possible hai. WordPress mobile app se posts publish kar sakte ho. Lekin site setup, technical configuration, aur speed optimization ke liye laptop/desktop better hai. Shuruat mobile se kar sakte ho lekin jaldi hi proper setup pe switch karo.
Summary — AdSense Approval Ka Shortcut Nahi, Lekin Roadmap Zarur Hai
Google AdSense approval koi lottery nahi hai. Yeh ek process hai — aur yeh process follow karo toh result aata hi hai. Recap karte hain:
- Age 18+, custom domain, original content — basics pakke karo
- HTTPS, mobile-friendly, fast loading — technical setup complete karo
- About, Contact, Privacy Policy — mandatory pages banao
- 15–25 quality posts publish karo — thin content se bacho
- Search Console verified karo, sitemap submit karo
- Apply karo, wait karo, rejection pe fix karo aur dobara try karo
Blogging ek slow aur steady game hai — lekin AdSense approval ek turning point hai jiske baad tumhari site ek asset ban jaati hai. Is Google AdSense approval guide India ko bookmark karo, checklist follow karo, aur ek-ek step complete karo. Approval aayega.
Aur agar is beech extra income chahiye, toh yeh bhi dekhlo — bina investment ke roz ₹1000 kaise kamayein — yeh guide tumhare blogging journey ke parallel kaam aayegi.